Painting small pumpkins lets me experiment with Halloween colors and patterns on a scale that fits almost any spot in my home.
I tend to notice these painted minis first because they add personality to corners and surfaces that usually stay plain.
The variety of designs keeps things interesting even when I use the same basic supplies year after year.
Because they are so portable I can shift them around as the season goes on or move them outdoors for extra visibility.
Mini pumpkins carry more seasonal weight than most people expect.
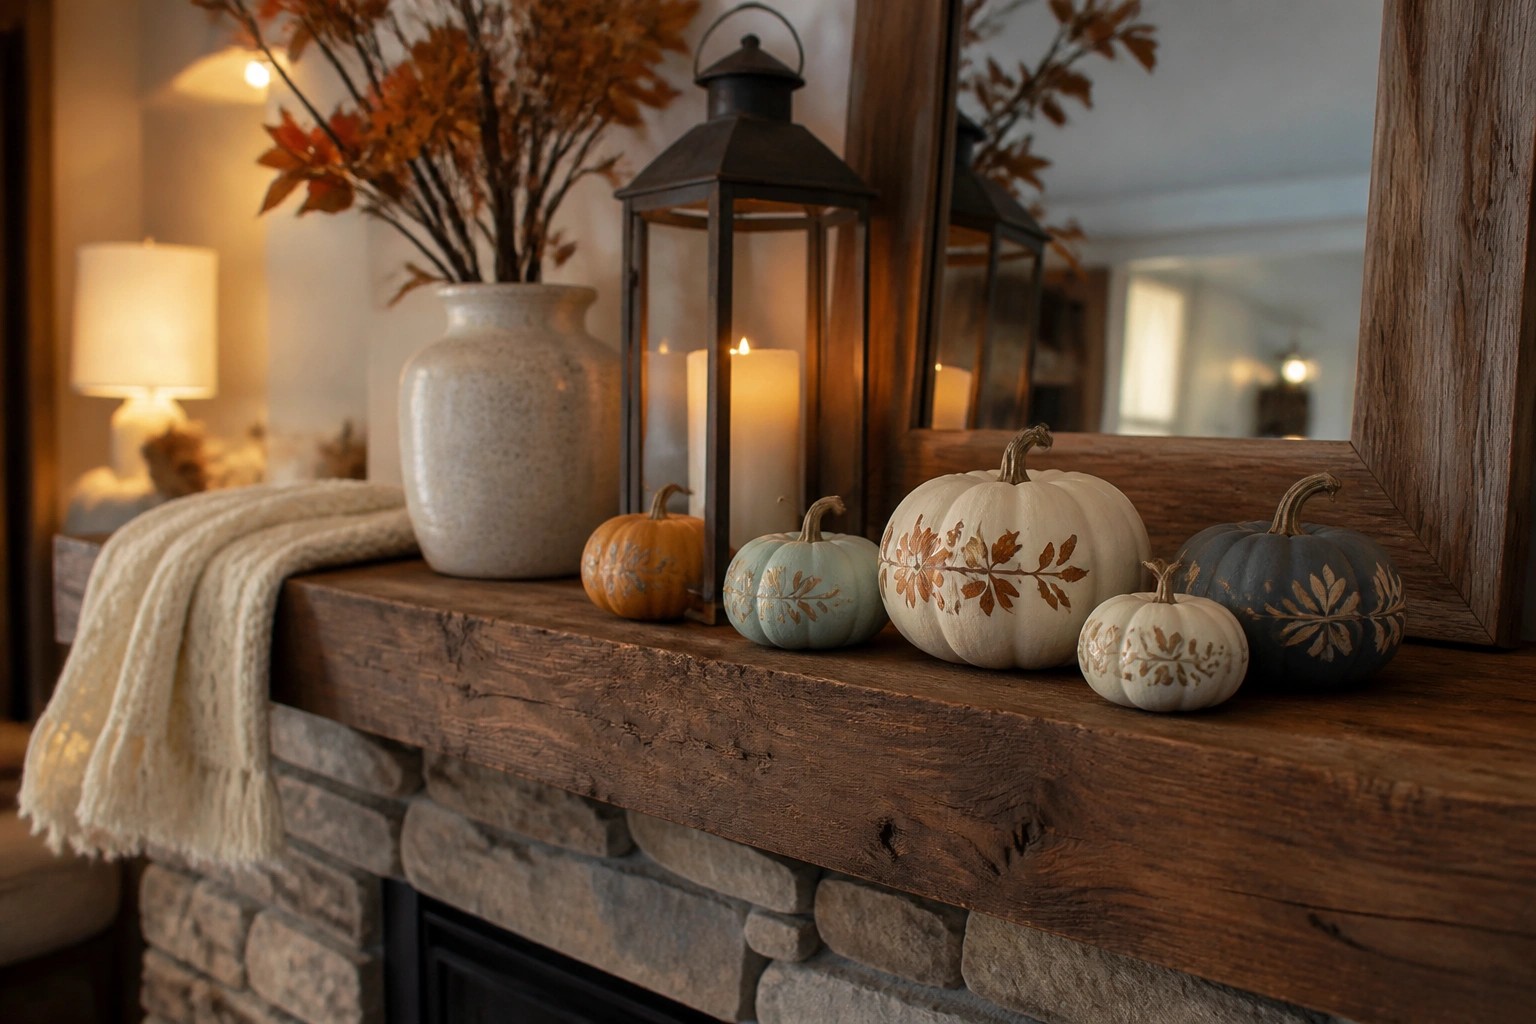
Display Painted Mini Pumpkins Along The Mantel

A simple row of painted mini pumpkins turns a mantel into a clean seasonal display. The mix of white, sage, and deep green finishes keeps the look quiet while still reading as Halloween.
This works well in any room with a fireplace because it needs only a handful of minis and a few supporting pieces like candles or a vase. Stick to two or three colors so the arrangement stays balanced instead of busy.
Paint Mini Pumpkins And Group Them On A Tray

Painting a handful of mini pumpkins in soft colors and patterns gives you an easy way to add Halloween without much effort. A wooden tray keeps them together and turns the whole group into one neat centerpiece that works on a coffee table or any flat surface.
Place the tray where people gather so the painted details show up clearly. You only need four or five pumpkins plus a few dried bits of filler to make the arrangement feel finished. This setup stays simple and can be swapped out quickly once the holiday passes.
Display Painted Mini Pumpkins On Bookshelves

Painting mini pumpkins in soft floral patterns gives you a simple way to add Halloween without crowding a space. The small size lets you tuck them between books or stack a few on old volumes, and the hand-painted details keep the look light instead of loud. A single lit lamp nearby brings out the colors without any extra effort.
This works best on any set of shelves you already have, whether in a living room or hallway. Use five to eight pumpkins in mixed sizes and repeat the same soft color palette so the display stays calm. Swap them out after the holiday and the shelves return to normal in minutes.
Paint Mini Pumpkins With Gold Polka Dots
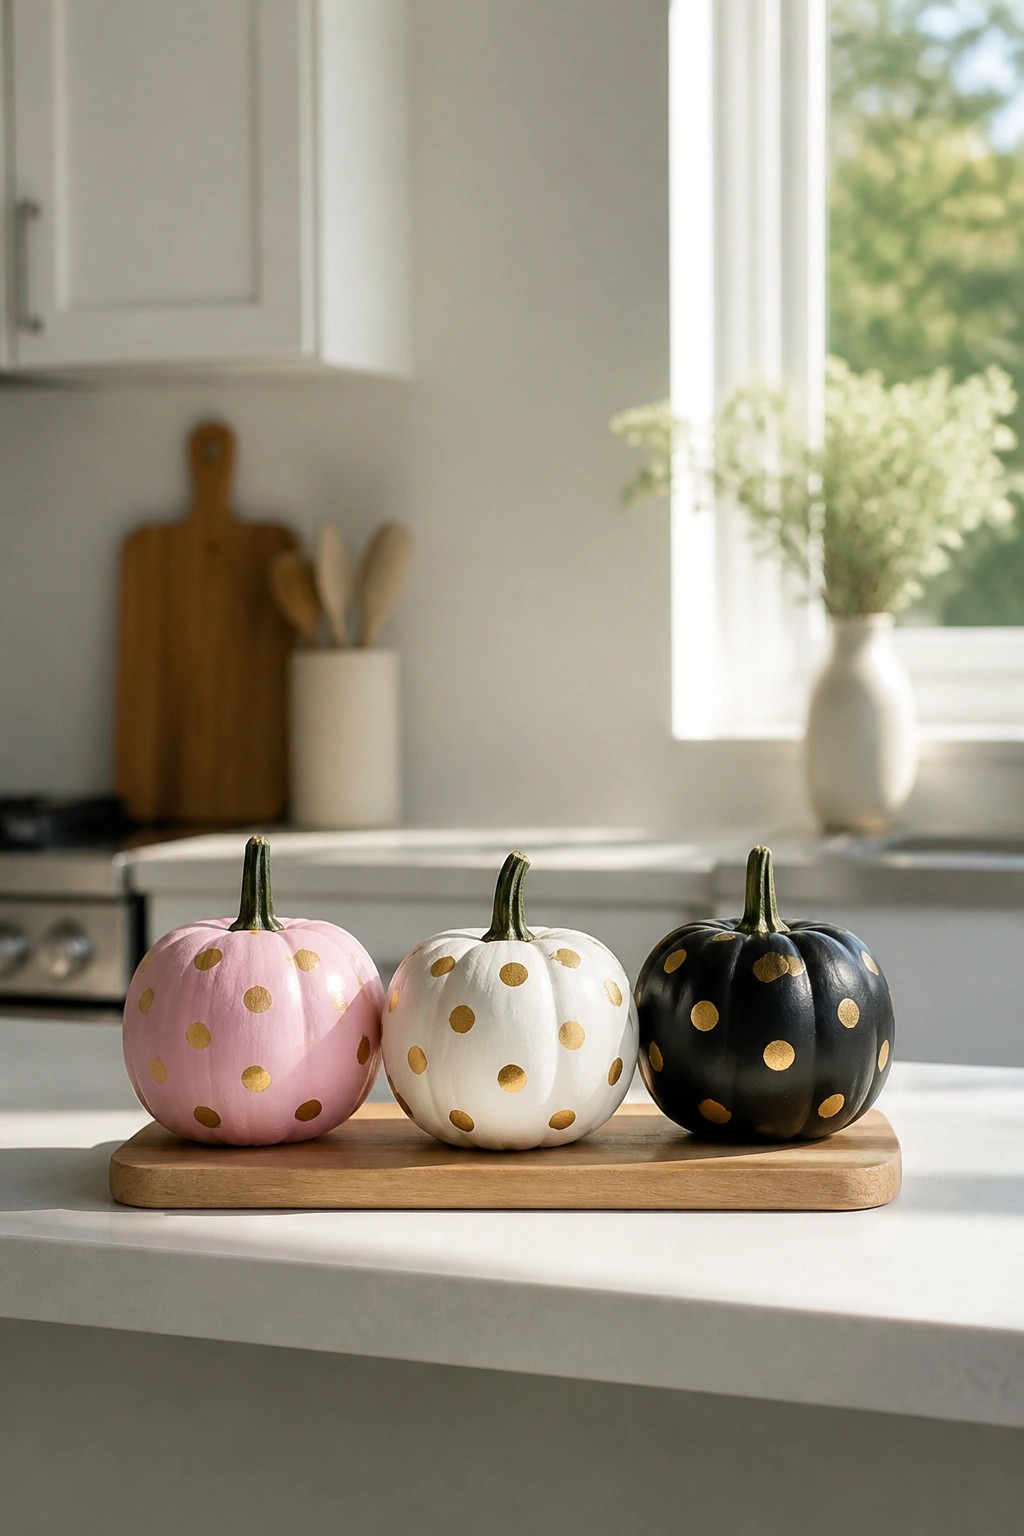
These mini pumpkins painted in soft colors and finished with gold polka dots make an easy Halloween accent that fits right into a kitchen counter. The simple pattern keeps the look light and playful instead of heavy or spooky.
Group three or four on a wooden board or tray and set them anywhere you need a quick seasonal touch. The painted pumpkins stay small enough to move around and work in almost any spot in the house.
Group Painted Mini Pumpkins Along An Entry Console
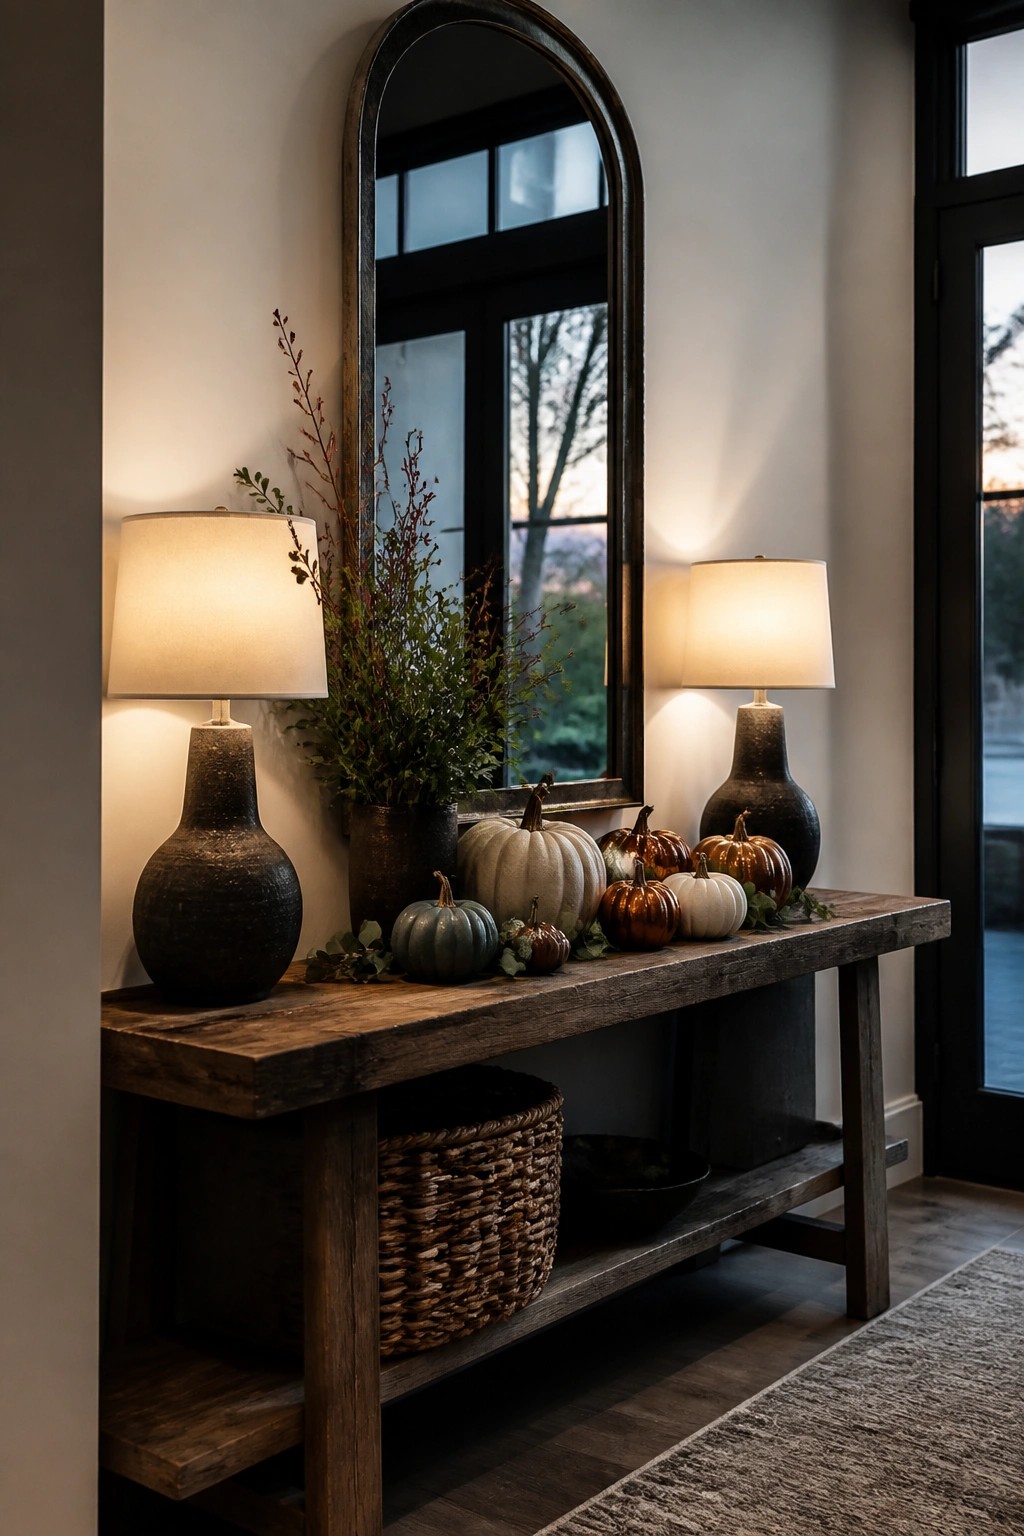
A simple row of painted mini pumpkins on a console table gives an entryway an easy seasonal update. The different sizes and soft colors make the display feel intentional without crowding the space.
This idea works in almost any entry because it stays contained to one surface. Place the pumpkins in a loose line or cluster them near the center, then leave the rest of the table mostly clear so the painted details stand out.
Arrange Painted Mini Pumpkins On A Tray
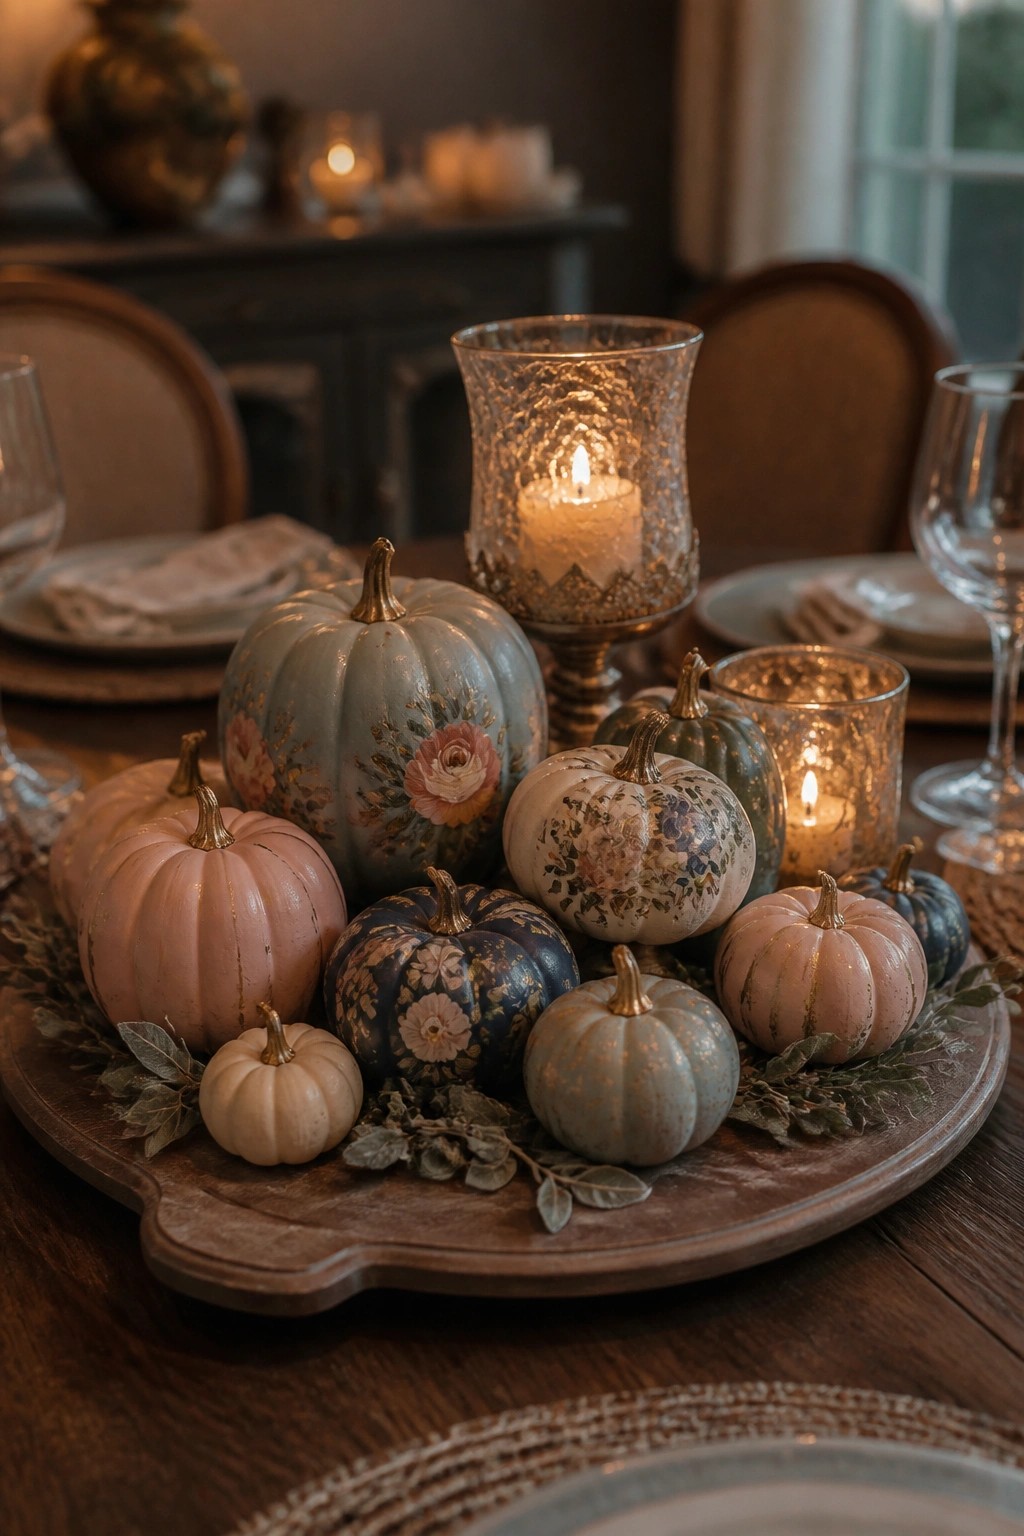
Painted mini pumpkins work well as a dining table centerpiece because the small size lets you group several together without crowding the space. The soft colors and simple floral patterns keep the display light instead of overwhelming the table setting.
Set the pumpkins on a wooden tray with a few leaves tucked underneath and place a couple of candles nearby. This works in any dining area since the whole arrangement stays compact and can be moved or swapped out quickly.
Arrange Painted Pumpkins Along A Windowsill
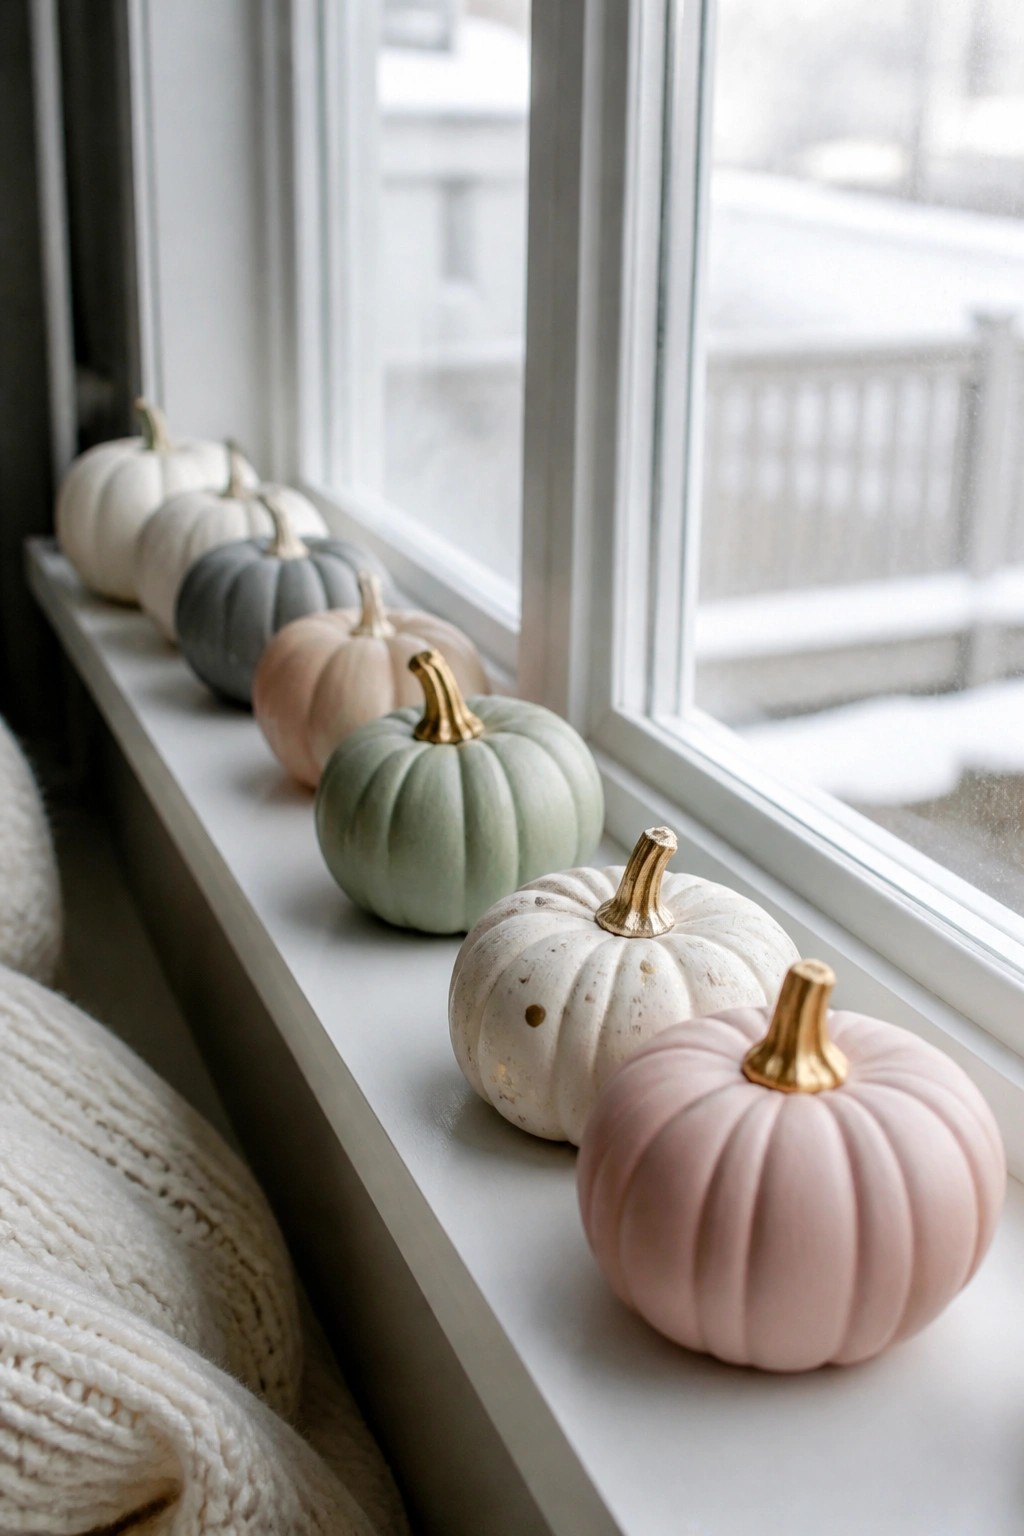
Painting mini pumpkins in soft neutral tones turns a basic windowsill into a seasonal display. The mix of white, gray, blush, and pale green pumpkins creates a calm row that still reads as Halloween without bright orange overload. Gold stems on a few add a small lift that keeps the look intentional.
This idea works on any indoor ledge or shelf where you want something light. Start with five to eight pumpkins in similar sizes, vary the paint finishes slightly, and keep the rest of the surface clear so the painted group stays the focus.
Group Painted Mini Pumpkins Along The Mantel

Painted mini pumpkins stand out best when grouped together on a mantel. The mix of patterns and finishes makes the display feel intentional without needing a lot of extra pieces. A few black candles and a simple crow figure help tie the whole look together while keeping the focus on the pumpkins themselves.
This works well in any room with a fireplace because the mantel already gives the pumpkins a clear stage. Start with three to five painted minis in different sizes and patterns, then add just one or two darker accents so the painted details stay easy to see. The setup stays simple to change out after the holiday.
Paint Mini Pumpkins With Soft Dipped Colors

Mini pumpkins take on a fresh look when you dip them in gentle colors instead of going for bright orange. The three small pumpkins here show how a simple ombre or dipped finish in muted tones can still feel seasonal without overpowering a room. The gold stems add just enough shine to keep the whole group looking intentional.
Place a few painted pumpkins like these on a side table, coffee table, or entry console where they can be seen up close. You only need three or four to make the idea work, and the soft palette pairs easily with whatever else is already in the space.
Paint Mini Pumpkins With Soft Florals
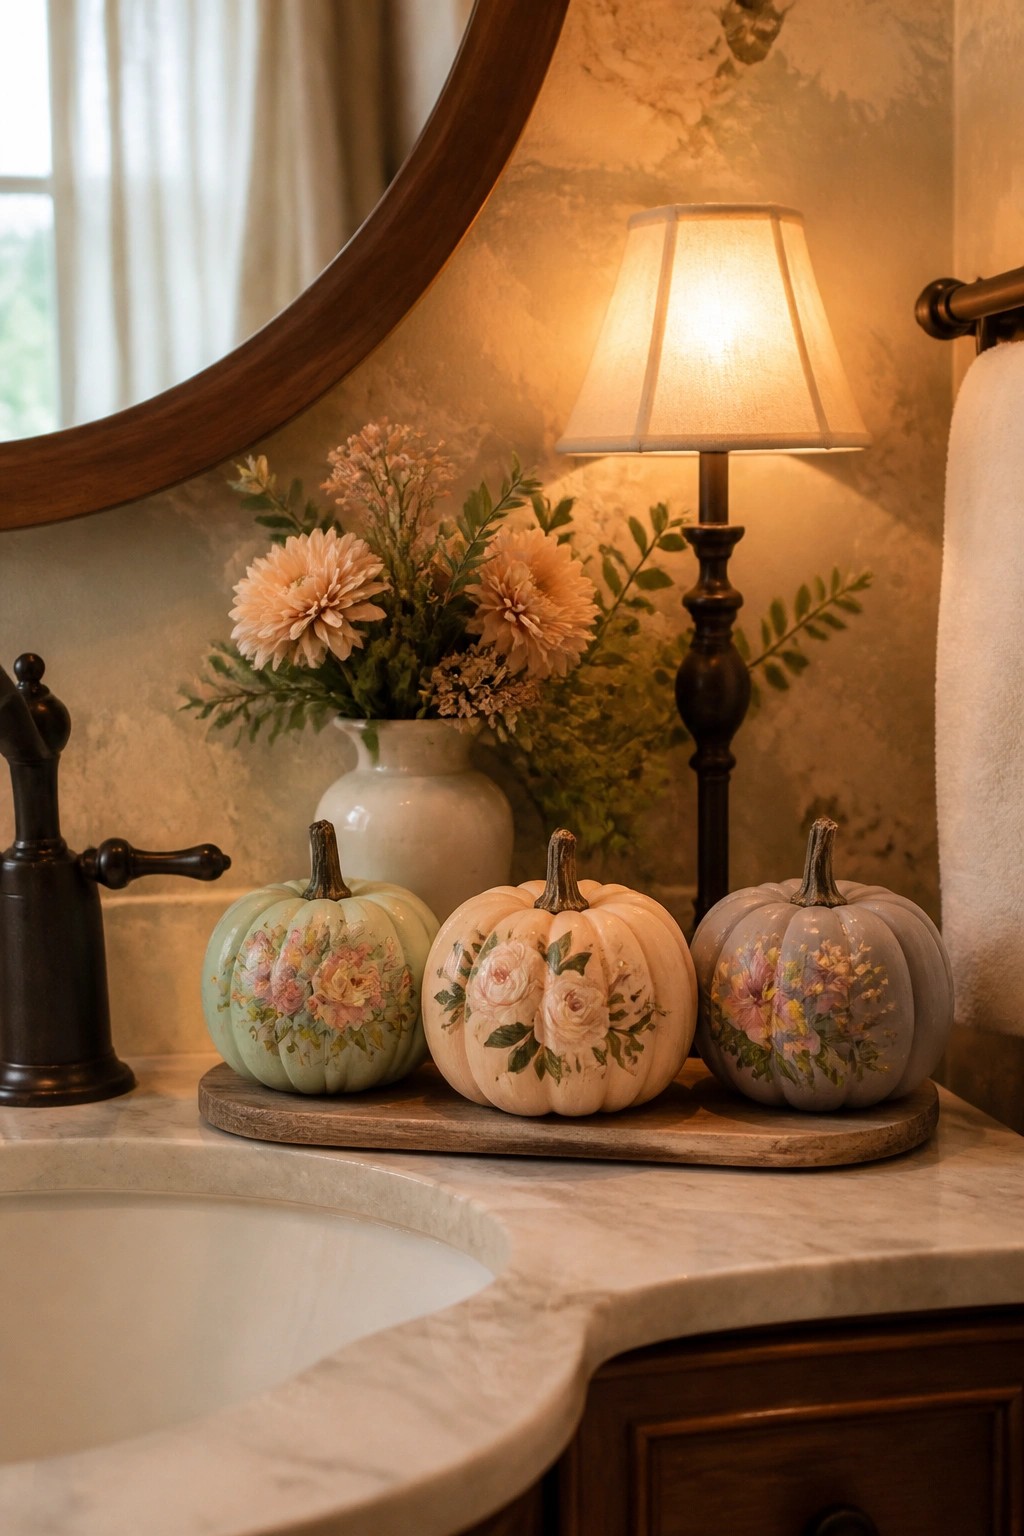
Mini pumpkins gain a gentle Halloween feel when painted in muted shades and finished with simple floral patterns. The soft colors keep the look from feeling heavy while still marking the season in a quiet way.
Set three or four on a small tray wherever you need a quick accent. This works on a bathroom counter, a side table, or even a shelf because the painted details do the work without extra pieces.
Paint Mini Pumpkins With Dots And Stripes For The Steps
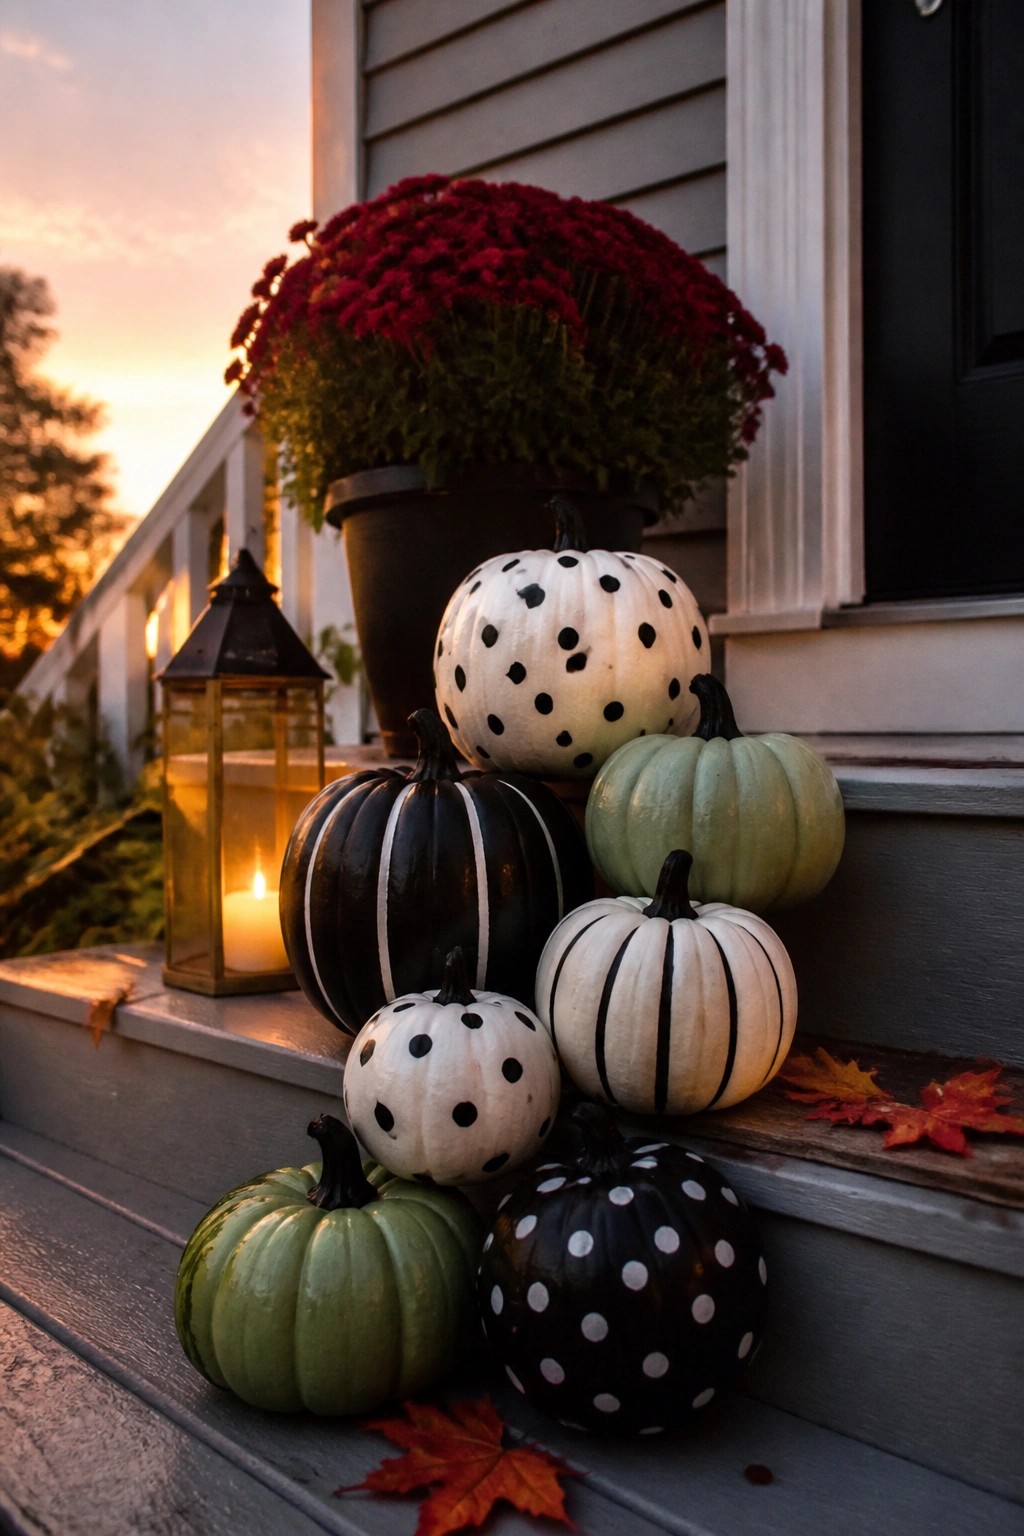
Painting a handful of mini pumpkins in simple black and white patterns turns an ordinary set of porch steps into a clear Halloween display. The mix of polka dots and stripes keeps the look coordinated without needing many extra pieces, and the contrast shows up well even at dusk.
Place the painted pumpkins in small clusters along the steps near the door. A few solid green ones mixed in help the patterns stand out more. This works on any entryway with steps or a small landing, and you only need basic acrylic paint and about six to eight minis to make it noticeable.
Paint A Mini Pumpkin For The Nightstand
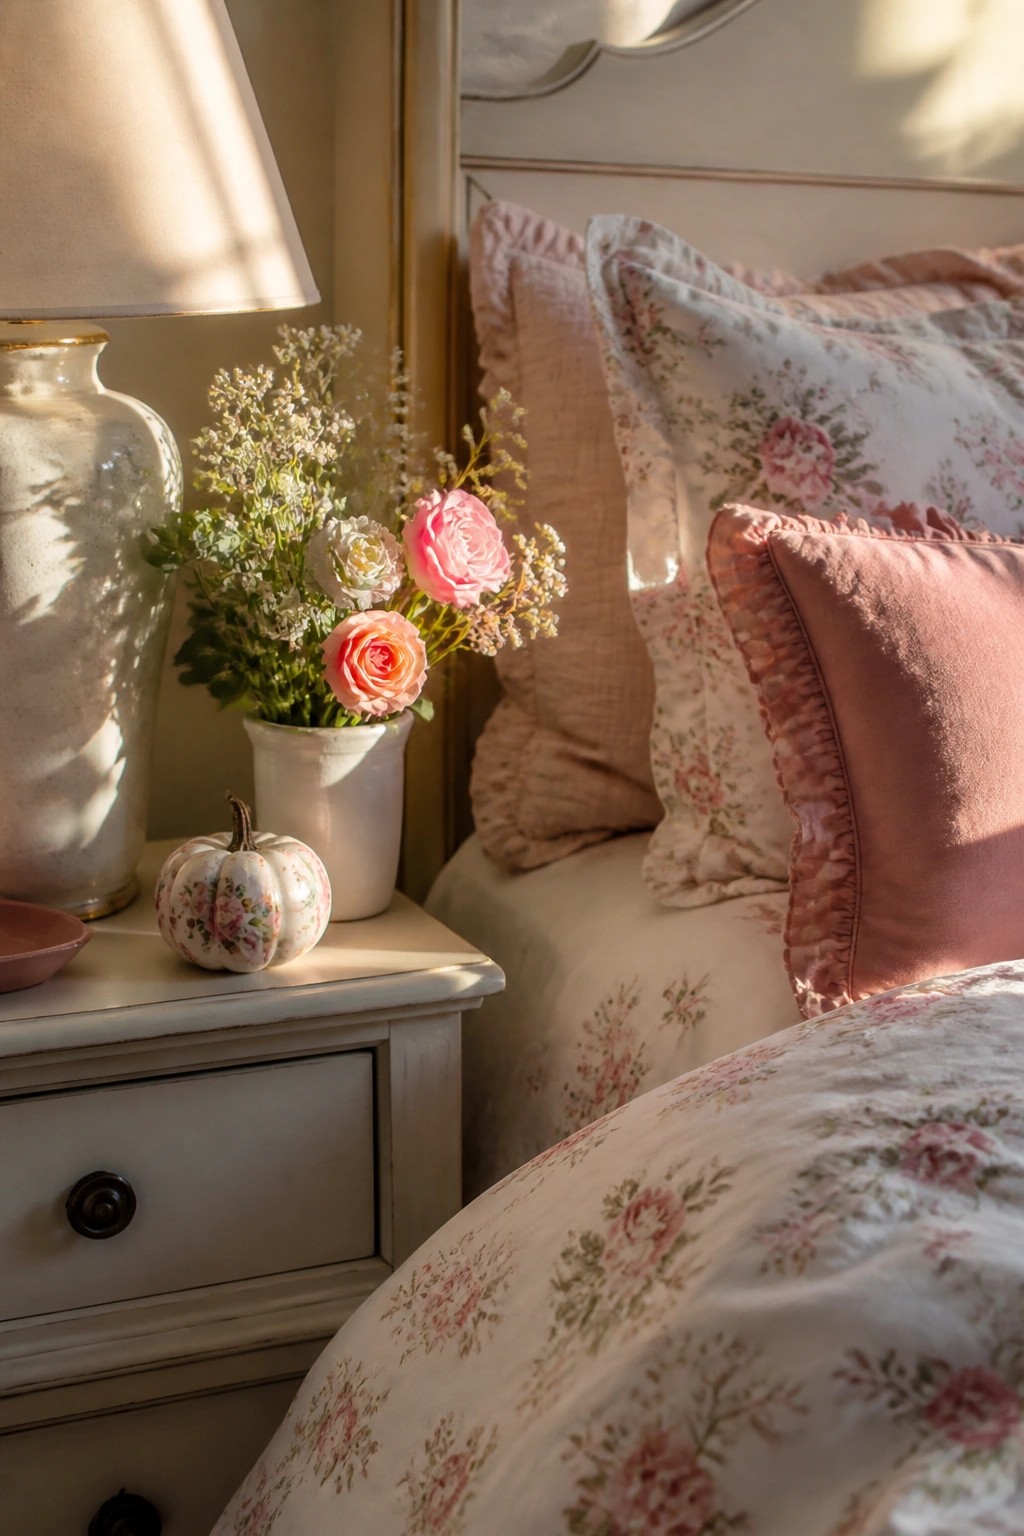
A painted mini pumpkin works well as a small bedside accent because it adds a seasonal detail without crowding the surface. The simple floral design on this one blends with the soft bedding and keeps the look light rather than busy.
Try painting a few small pumpkins in matching or coordinating patterns, then set one or two on a nightstand or dresser. It takes very little space and can be swapped out easily once the season ends.
Group Painted Mini Pumpkins On A Mantel
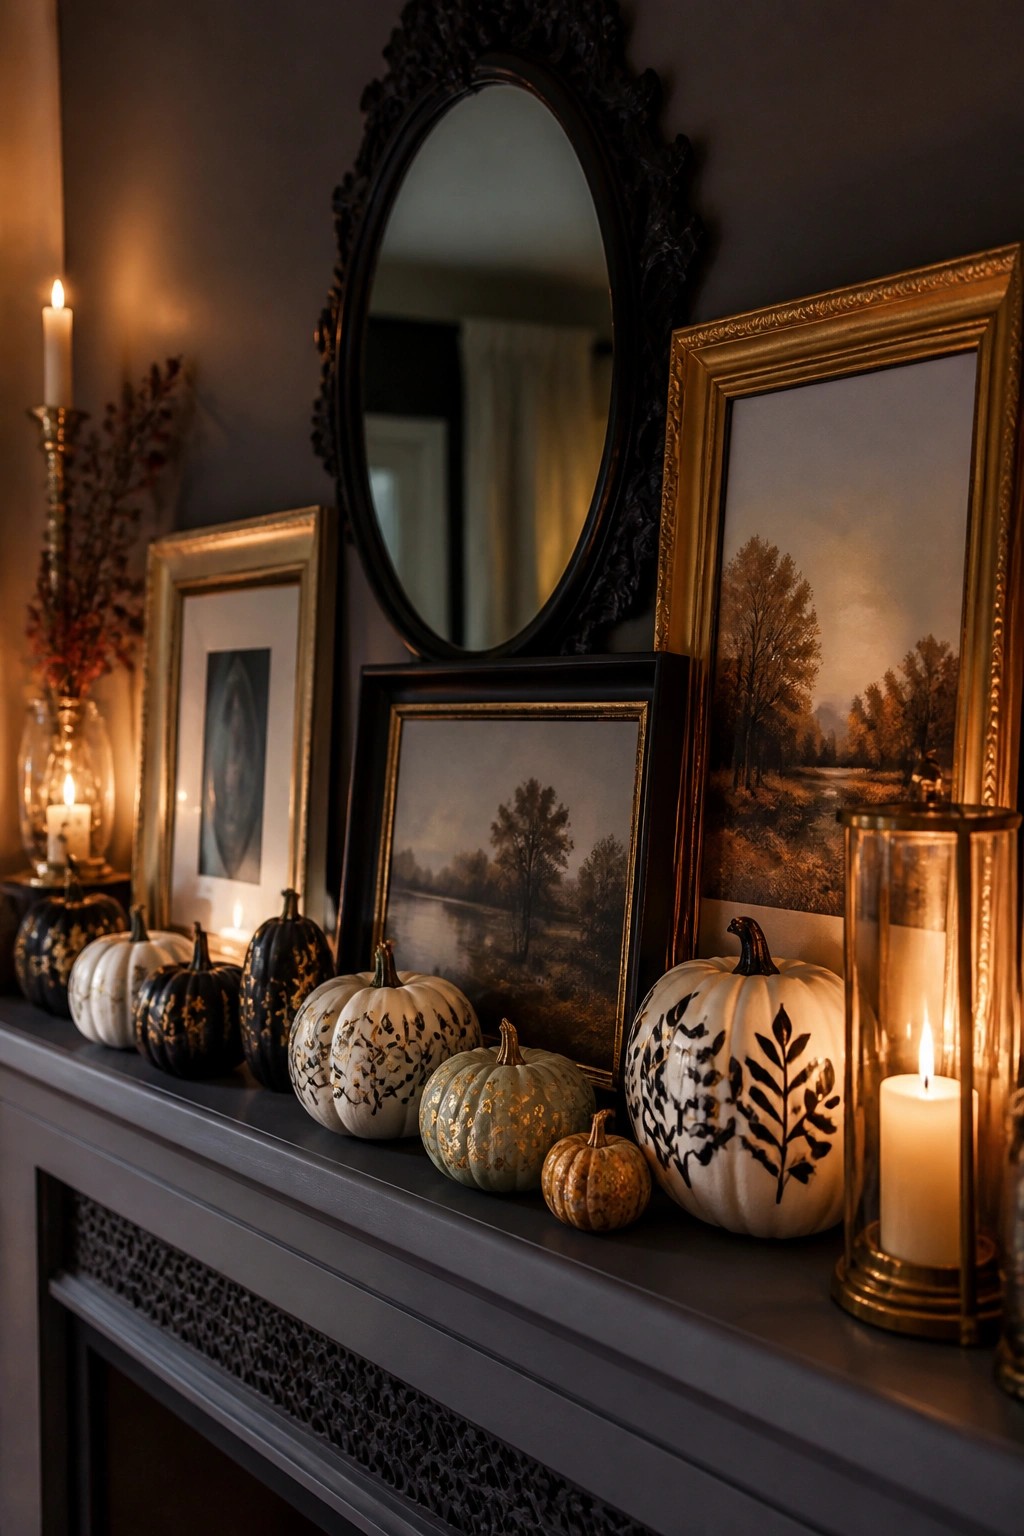
Painting mini pumpkins gives you a simple way to create a seasonal mantel without adding a lot of extra pieces. The black leaf designs and gold touches on these pumpkins keep the look coordinated while still reading as Halloween.
Line up five to eight painted pumpkins of different sizes across the mantel surface. Mix in a few plain ones if you want the painted ones to stand out more, and the whole setup stays easy to change once the season ends.
Paint A Mini Pumpkin With Soft Florals
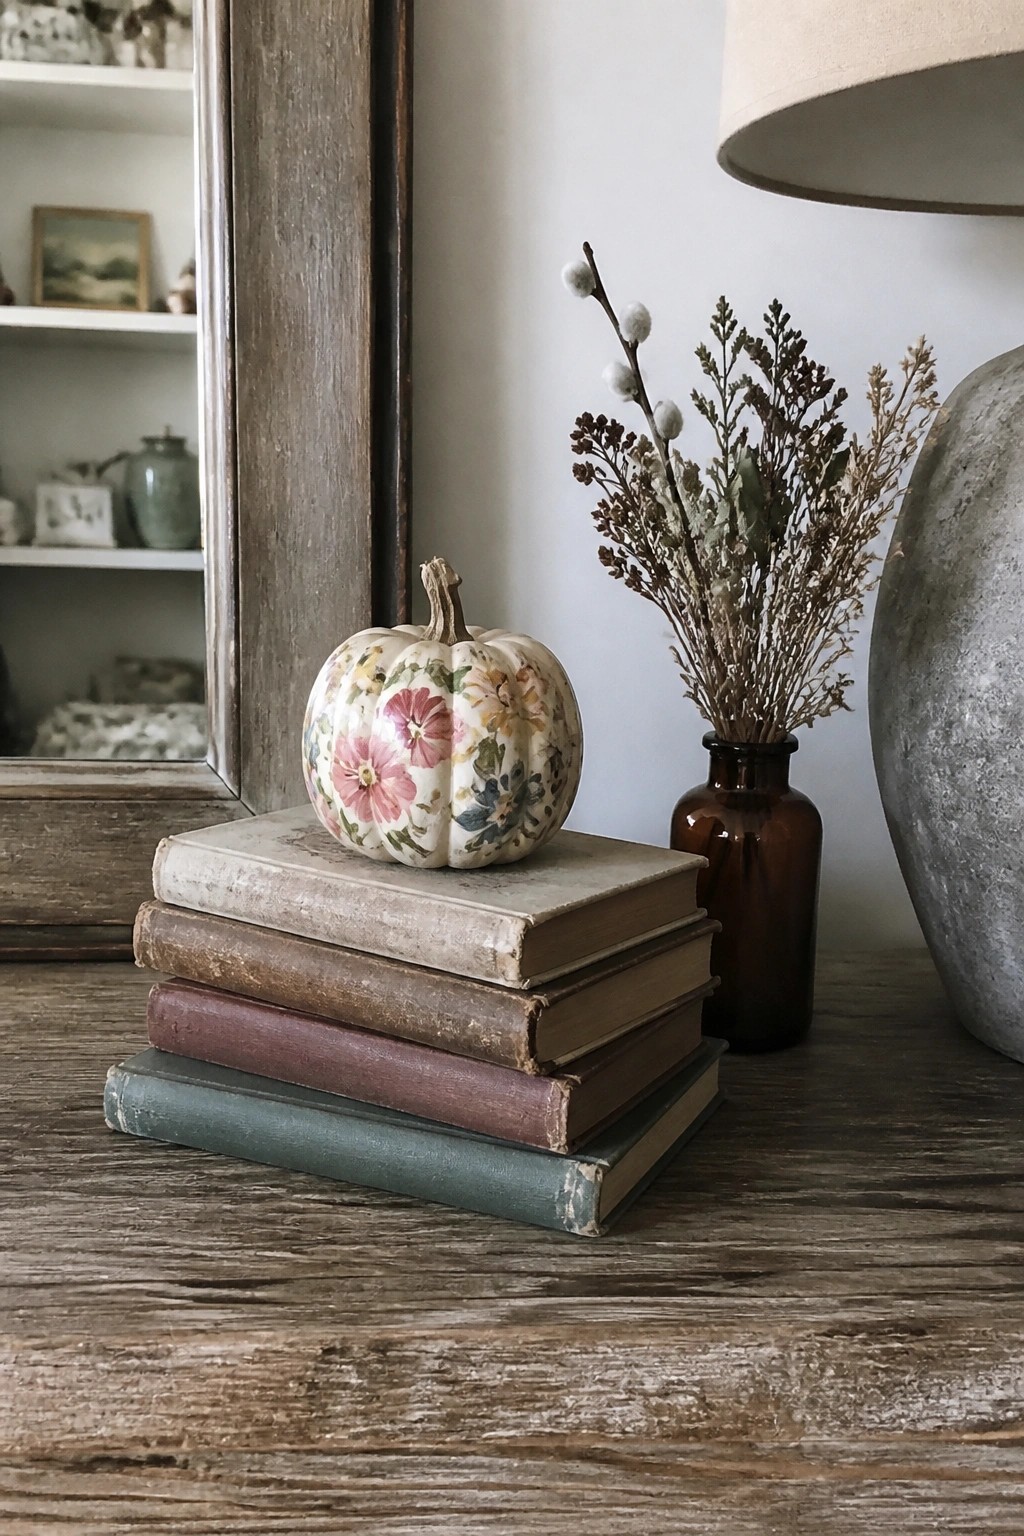
A painted mini pumpkin with simple flowers gives you a Halloween accent that stays quiet and pretty. Instead of carving or using bright orange, the floral design lets the pumpkin blend into everyday spaces while still reading as seasonal.
Set the painted pumpkin on a short stack of old books and place it on a console, mantel, or side table. Add one small vase of dried stems next to it and the vignette feels complete without crowding the surface.
Display Painted Pumpkins Along The Stairs

Painting mini pumpkins in soft colors turns a simple staircase into a seasonal display that feels fresh and easy to update each year. The neutral tones keep the look light while still giving a clear Halloween feel without needing extra props or bold colors.
Start with a mix of small and medium pumpkins in white, pale blue, and soft pink. Set the larger ones on the lower steps and tuck smaller ones higher up so the arrangement stays balanced. A few dried leaves scattered between them is all you need to finish the setup.
Arrange Painted Mini Pumpkins In A Tray

A simple wooden tray makes an easy spot to show off a collection of painted mini pumpkins. The different colors and patterns stand out against the moss and dried accents without needing any extra props or complicated setups.
Place the tray on a console table, entry surface, or sideboard where it can be seen up close. Use pumpkins in a mix of solid colors, stripes, and speckles to keep the display interesting while still looking cohesive.
Paint Mini Pumpkins For Place Settings
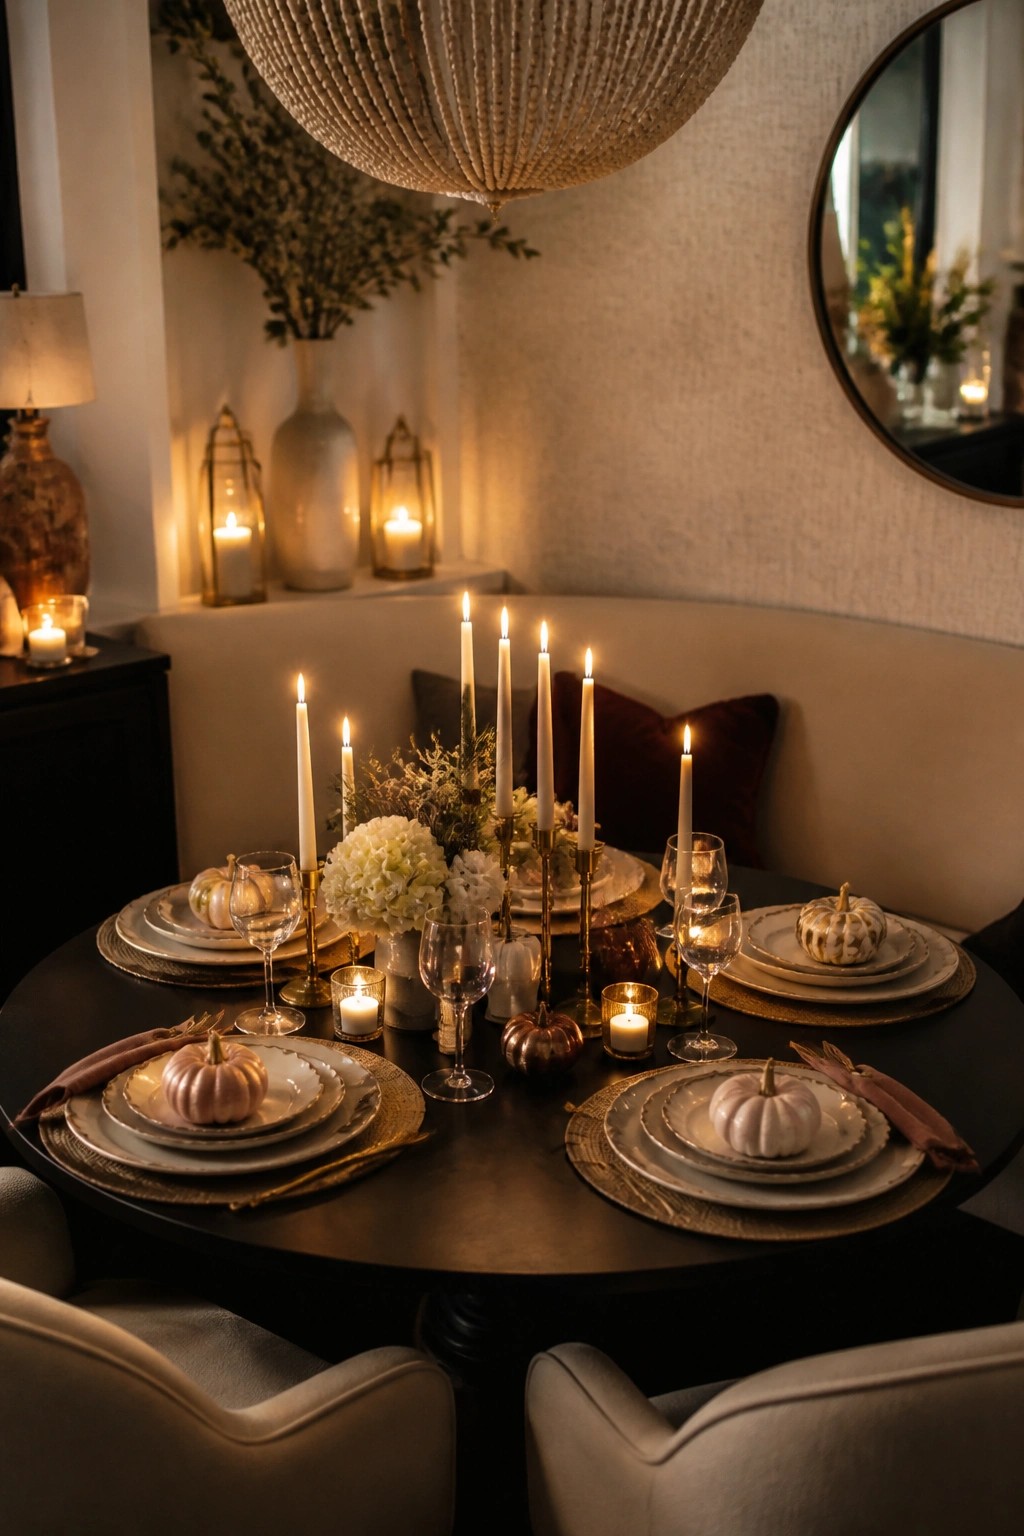
Paint a handful of mini pumpkins in soft neutral tones and set one at each place. The small size keeps them from crowding the table while still giving a clear Halloween touch.
This idea works best on a dining table where you want something simple and seasonal. Use just a few painted pumpkins and let the rest of the setting stay quiet so they read as the main accent.
Paint Mini Pumpkins For A Mantel Display
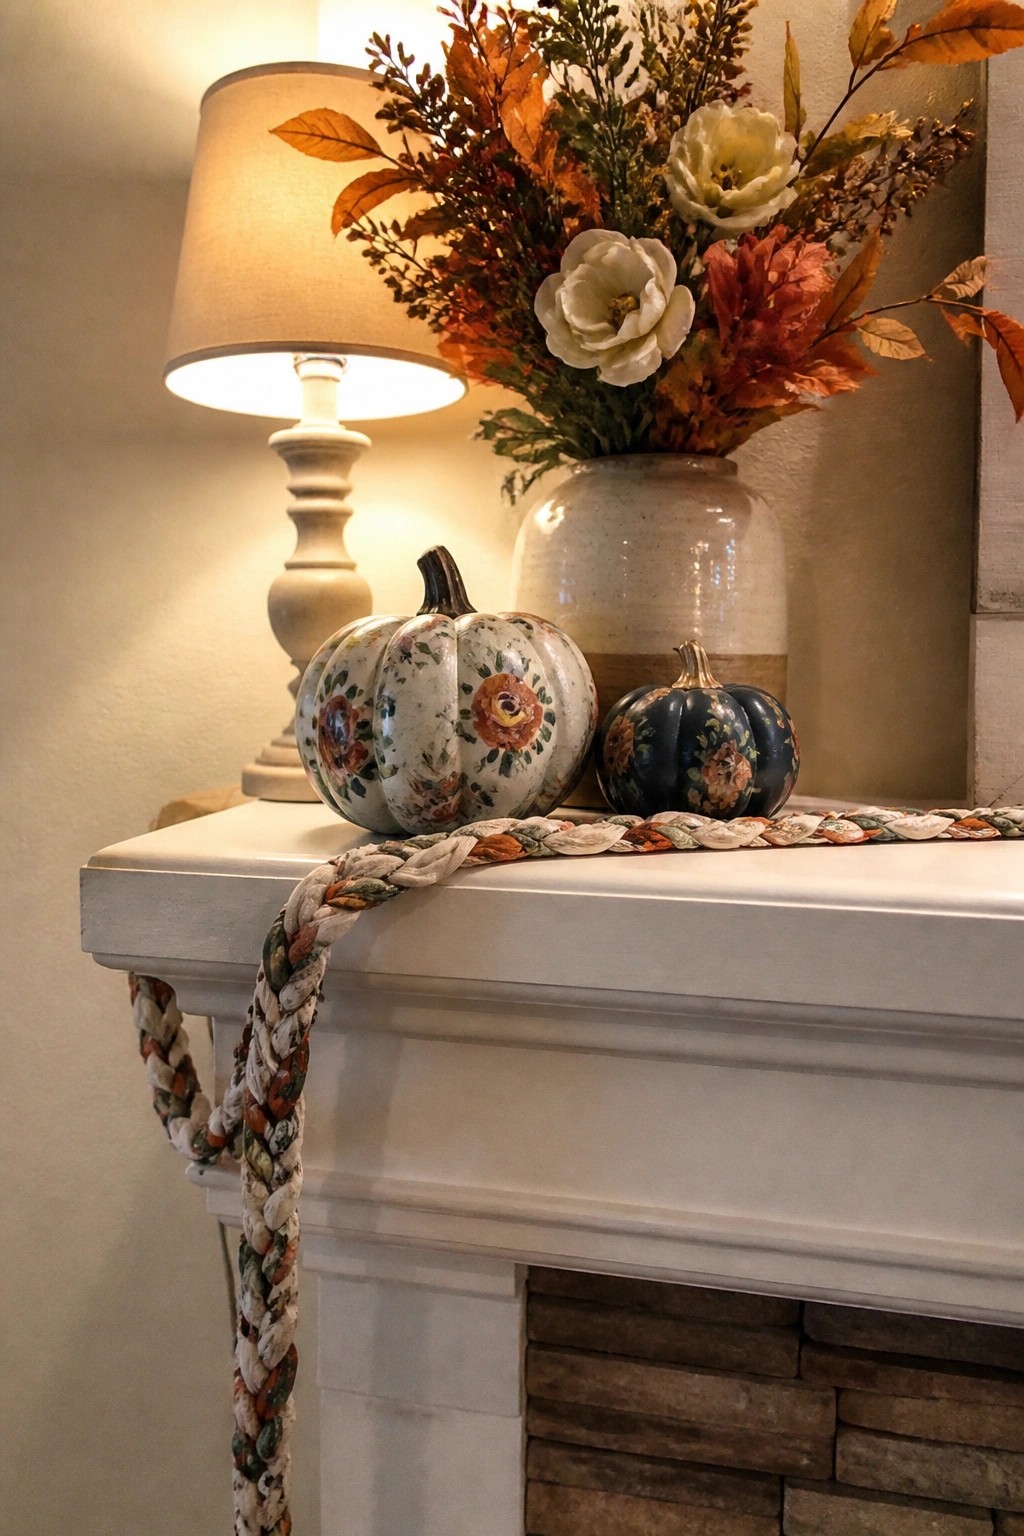
Painted mini pumpkins stand out nicely when grouped together on a mantel. The floral patterns on these ones keep the look soft while still feeling seasonal, and the small size makes it easy to move them around or change the arrangement later.
Try starting with two or three painted pumpkins in different sizes and colors, then add just one or two supporting pieces like a simple vase or garland. This keeps the mantel from feeling crowded while letting the painted details stay visible.
Frequently Asked Questions
Q: What kind of paint works best for these mini pumpkins? A: Acrylic paints go on smoothly and dry fast. Pick up a few small brushes to handle the details without making a mess. Test your colors on a spare pumpkin first if you want to avoid surprises.
Q: How can I stop my painted pumpkins from getting scratched up? A: Let the paint dry completely before you move them around. A light coat of clear sealant helps protect the surface if you plan to keep them out for weeks.
Q: Where should I put these tiny pumpkins so they actually show up? A: Group a few together on a windowsill or shelf to create a little cluster. They look great tucked into a basket with some fall leaves too.


